
 Image 1 of 4
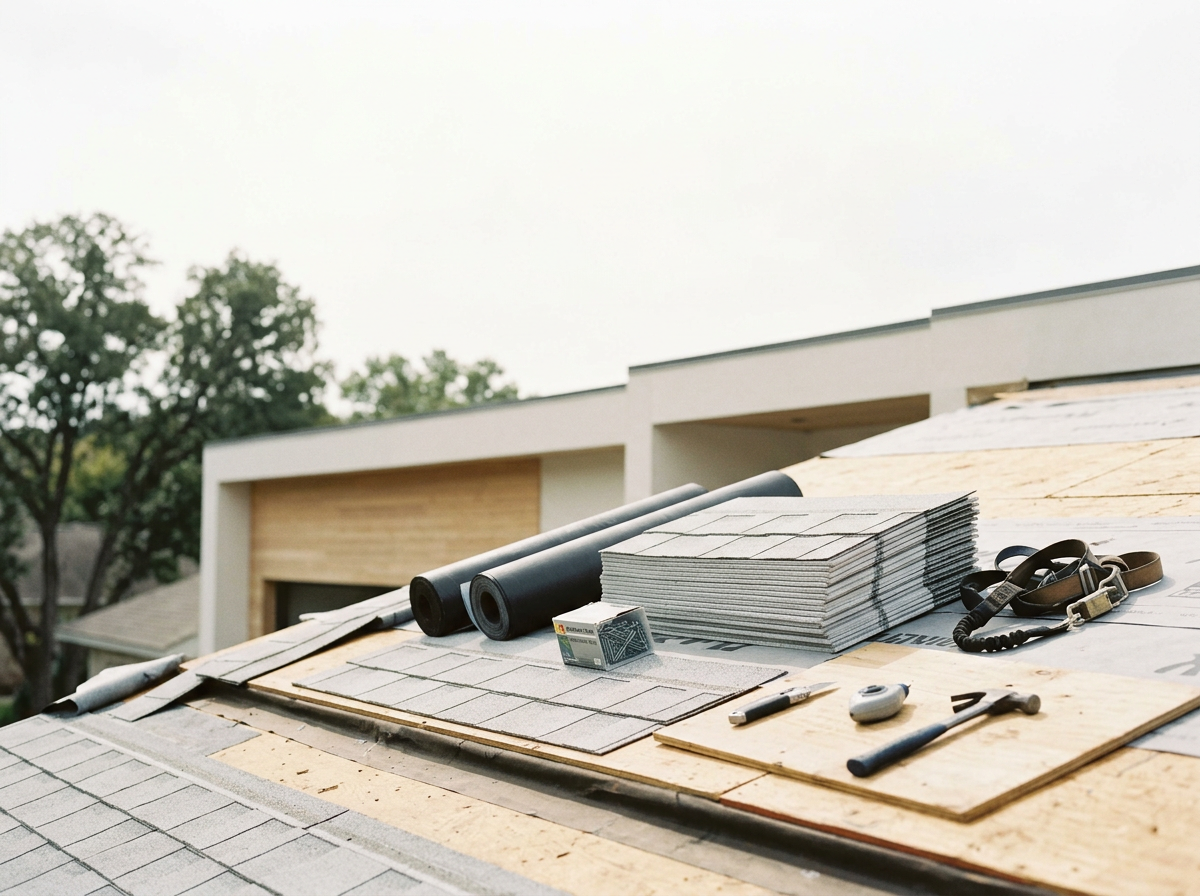 Image 2 of 4
 Image 3 of 4
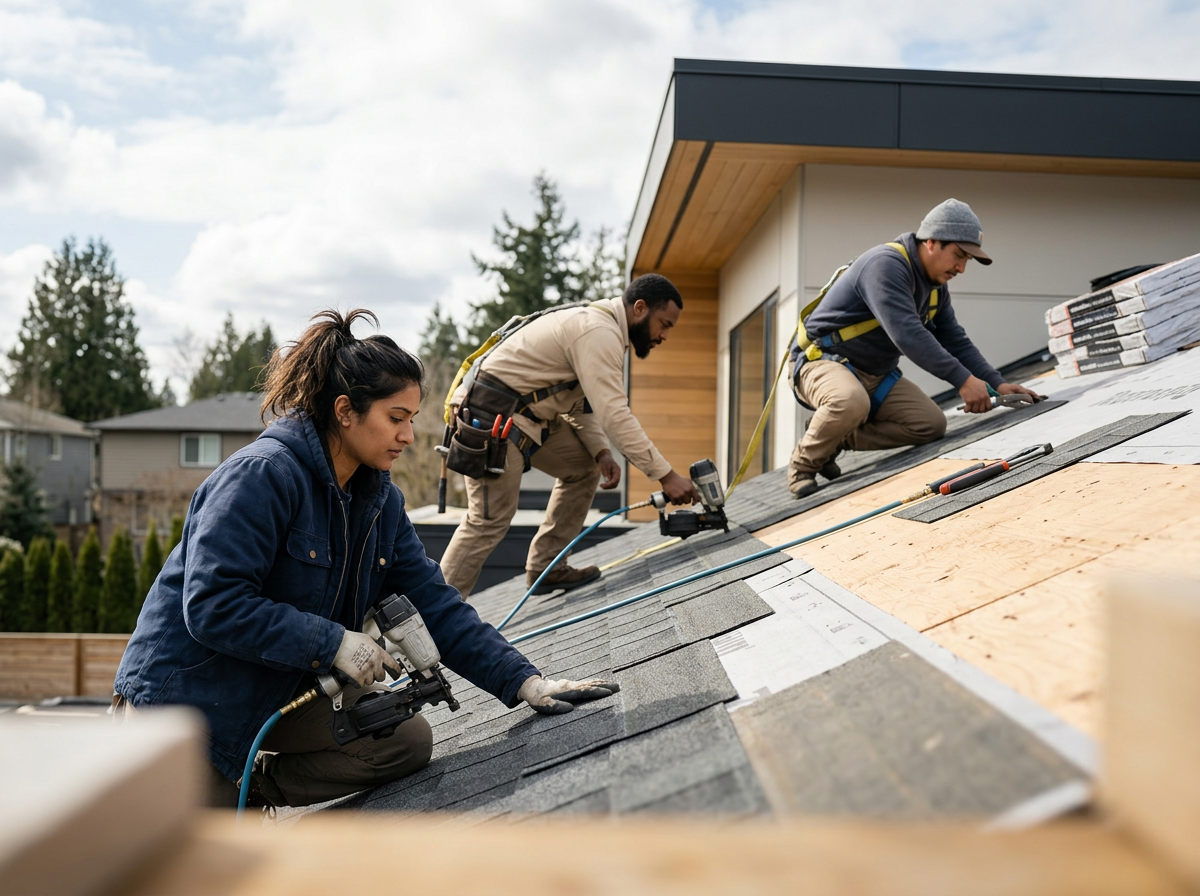 Image 4 of 4
roofing installation
Roofing Installation
A successful roofing installation protects a home from weather, improves energy efficiency, and enhances curb appeal. Whether replacing an old roof or installing one on new construction, the process follows a series of well-defined steps. Below is a practical guide covering materials, preparation, installation steps, safety, and common considerations.
Materials and roof types
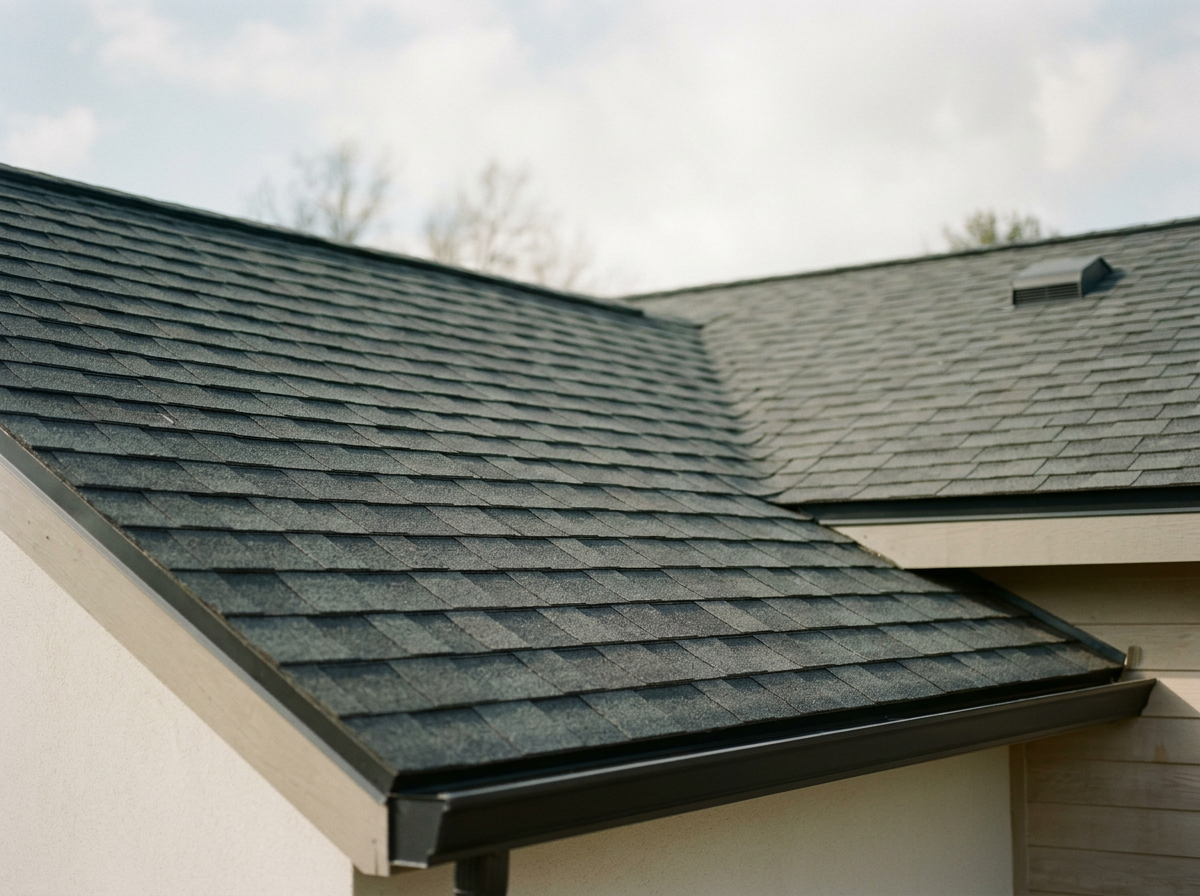
Asphalt shingles: Most common for residential projects; cost-effective, available in many styles and colors. Lifespan typically 20–30 years for standard 3-tab shingles, 25–50+ years for architectural (laminate) shingles.
Metal roofing: Long-lasting (40–70+ years), low maintenance, good for energy efficiency and shedding snow. Available in standing seam, corrugated, and metal shingles.
Tile (clay or concrete): Durable and fire-resistant; heavy—may require reinforced roof framing. Lifespan 50+ years but more expensive and brittle to walk on.
Wood shingles/shakes: Natural appearance, good insulation properties; require maintenance and are less fire-resistant unless treated.
Slate: Extremely durable and long-lasting (75–100+ years); high cost and very heavy—requires structural evaluation.
Synthetic roofing: Engineered polymer or rubber products that mimic slate, tile, or wood; lighter weight, often lower cost, varied warranties.
Preparation and planning
Inspect the roof deck and structure for rot, water damage, or structural issues. Replace or reinforce framing if needed.
Check local building codes, permitting requirements, and HOA covenants.
Choose underlayment type: traditional felt (15- or 30-pound) or synthetic underlayment with better tear resistance and moisture protection.
Plan ventilation: ridge vents, soffit vents, turbine vents, or powered vents. Proper attic ventilation extends shingle life and improves energy efficiency.
Calculate materials using roof area, slope, and waste factor (typically 10–15% extra for shingle waste; higher for complex roofs).
Order flashing, drip edge, starter shingles, ridge caps, nails, sealants, ice
Roofing Installation
A successful roofing installation protects a home from weather, improves energy efficiency, and enhances curb appeal. Whether replacing an old roof or installing one on new construction, the process follows a series of well-defined steps. Below is a practical guide covering materials, preparation, installation steps, safety, and common considerations.
Materials and roof types
Asphalt shingles: Most common for residential projects; cost-effective, available in many styles and colors. Lifespan typically 20–30 years for standard 3-tab shingles, 25–50+ years for architectural (laminate) shingles.
Metal roofing: Long-lasting (40–70+ years), low maintenance, good for energy efficiency and shedding snow. Available in standing seam, corrugated, and metal shingles.
Tile (clay or concrete): Durable and fire-resistant; heavy—may require reinforced roof framing. Lifespan 50+ years but more expensive and brittle to walk on.
Wood shingles/shakes: Natural appearance, good insulation properties; require maintenance and are less fire-resistant unless treated.
Slate: Extremely durable and long-lasting (75–100+ years); high cost and very heavy—requires structural evaluation.
Synthetic roofing: Engineered polymer or rubber products that mimic slate, tile, or wood; lighter weight, often lower cost, varied warranties.
Preparation and planning
Inspect the roof deck and structure for rot, water damage, or structural issues. Replace or reinforce framing if needed.
Check local building codes, permitting requirements, and HOA covenants.
Choose underlayment type: traditional felt (15- or 30-pound) or synthetic underlayment with better tear resistance and moisture protection.
Plan ventilation: ridge vents, soffit vents, turbine vents, or powered vents. Proper attic ventilation extends shingle life and improves energy efficiency.
Calculate materials using roof area, slope, and waste factor (typically 10–15% extra for shingle waste; higher for complex roofs).
Order flashing, drip edge, starter shingles, ridge caps, nails, sealants, ice and water shield (for eaves and valleys in cold climates), and appropriate fasteners for the roof deck and materials.
Safety and job-site setup
Use fall protection: guardrails, safety harnesses with lifelines, roof anchors.
Set up ladders correctly and secure them. Use ladder standoffs when necessary.
Keep a clean work area; remove debris promptly to prevent slips or damage.
Protect landscaping and exterior surfaces with tarps and plywood walkways.
Check weather forecasts—avoid installation during high winds, rain, or extreme heat.
Installation steps (asphalt shingle example)
Remove old roofing: Strip shingles, underlayment, and damaged decking as needed. Dispose of debris according to local regulations.
Inspect and repair decking: Replace rotten or damaged sheathing; ensure a solid, flat substrate.
Install drip edge: Attach along eaves first, then along rakes after underlayment is applied (some installers place drip edge on both).
Apply ice and water shield: Install along eaves, valleys, and other vulnerable areas per manufacturer recommendations.
Install underlayment: Roll out felt or synthetic underlayment horizontally, overlapping per guidelines. Secure with cap nails or staples as recommended.
Install starter strip: Place along eaves to seal shingle ends and prevent wind uplift.
Lay shingles: Start at the lower edge and work up. Follow manufacturer spacing and nailing patterns. Stagger courses to avoid seam alignment.
Flashing: Install step flashing at walls, counterflashing at chimneys, and cap flashing where needed. Use durable metal flashing and roofing sealant for watertight transitions.
Ridge and hip caps: Install specially shaped shingles or cut shingles to cover ridges and hips, using ridge vent product if applicable for ventilation.
Clean up and final inspection: Remove nails, debris, and protective coverings. Inspect for proper nail placement, flashing integrity, and overall appearance.
Quality control and inspections
Verify nail length and placement (nails must penetrate decking sufficiently and avoid over- or under-driving).
Check for proper flashing at all roof penetrations (vents, skylights, chimneys).
Confirm that ventilation and attic airflow meet building code and manufacturer recommendations.
Address any open seams, exposed underlayment, or loose shingles before project completion.
Common issues and how to avoid them
Leaks at flashing: Ensure proper installation and use high-quality metal flashing and sealant. Replace old step flashing when replacing shingles.
Wind damage: Use starter strips and correct nailing patterns. Consider higher wind-rated shingles for exposed areas.
Poor ventilation: Install ridge and soffit vents sized appropriately for attic square footage. Ensure soffit vents are unobstructed.
Roofing Installation
A successful roofing installation protects a home from weather, improves energy efficiency, and enhances curb appeal. Whether replacing an old roof or installing one on new construction, the process follows a series of well-defined steps. Below is a practical guide covering materials, preparation, installation steps, safety, and common considerations.
Materials and roof types
Asphalt shingles: Most common for residential projects; cost-effective, available in many styles and colors. Lifespan typically 20–30 years for standard 3-tab shingles, 25–50+ years for architectural (laminate) shingles.
Metal roofing: Long-lasting (40–70+ years), low maintenance, good for energy efficiency and shedding snow. Available in standing seam, corrugated, and metal shingles.
Tile (clay or concrete): Durable and fire-resistant; heavy—may require reinforced roof framing. Lifespan 50+ years but more expensive and brittle to walk on.
Wood shingles/shakes: Natural appearance, good insulation properties; require maintenance and are less fire-resistant unless treated.
Slate: Extremely durable and long-lasting (75–100+ years); high cost and very heavy—requires structural evaluation.
Synthetic roofing: Engineered polymer or rubber products that mimic slate, tile, or wood; lighter weight, often lower cost, varied warranties.
Preparation and planning
Inspect the roof deck and structure for rot, water damage, or structural issues. Replace or reinforce framing if needed.
Check local building codes, permitting requirements, and HOA covenants.
Choose underlayment type: traditional felt (15- or 30-pound) or synthetic underlayment with better tear resistance and moisture protection.
Plan ventilation: ridge vents, soffit vents, turbine vents, or powered vents. Proper attic ventilation extends shingle life and improves energy efficiency.
Calculate materials using roof area, slope, and waste factor (typically 10–15% extra for shingle waste; higher for complex roofs).
Order flashing, drip edge, starter shingles, ridge caps, nails, sealants, ice
Roofing Installation
A successful roofing installation protects a home from weather, improves energy efficiency, and enhances curb appeal. Whether replacing an old roof or installing one on new construction, the process follows a series of well-defined steps. Below is a practical guide covering materials, preparation, installation steps, safety, and common considerations.
Materials and roof types
Asphalt shingles: Most common for residential projects; cost-effective, available in many styles and colors. Lifespan typically 20–30 years for standard 3-tab shingles, 25–50+ years for architectural (laminate) shingles.
Metal roofing: Long-lasting (40–70+ years), low maintenance, good for energy efficiency and shedding snow. Available in standing seam, corrugated, and metal shingles.
Tile (clay or concrete): Durable and fire-resistant; heavy—may require reinforced roof framing. Lifespan 50+ years but more expensive and brittle to walk on.
Wood shingles/shakes: Natural appearance, good insulation properties; require maintenance and are less fire-resistant unless treated.
Slate: Extremely durable and long-lasting (75–100+ years); high cost and very heavy—requires structural evaluation.
Synthetic roofing: Engineered polymer or rubber products that mimic slate, tile, or wood; lighter weight, often lower cost, varied warranties.
Preparation and planning
Inspect the roof deck and structure for rot, water damage, or structural issues. Replace or reinforce framing if needed.
Check local building codes, permitting requirements, and HOA covenants.
Choose underlayment type: traditional felt (15- or 30-pound) or synthetic underlayment with better tear resistance and moisture protection.
Plan ventilation: ridge vents, soffit vents, turbine vents, or powered vents. Proper attic ventilation extends shingle life and improves energy efficiency.
Calculate materials using roof area, slope, and waste factor (typically 10–15% extra for shingle waste; higher for complex roofs).
Order flashing, drip edge, starter shingles, ridge caps, nails, sealants, ice and water shield (for eaves and valleys in cold climates), and appropriate fasteners for the roof deck and materials.
Safety and job-site setup
Use fall protection: guardrails, safety harnesses with lifelines, roof anchors.
Set up ladders correctly and secure them. Use ladder standoffs when necessary.
Keep a clean work area; remove debris promptly to prevent slips or damage.
Protect landscaping and exterior surfaces with tarps and plywood walkways.
Check weather forecasts—avoid installation during high winds, rain, or extreme heat.
Installation steps (asphalt shingle example)
Remove old roofing: Strip shingles, underlayment, and damaged decking as needed. Dispose of debris according to local regulations.
Inspect and repair decking: Replace rotten or damaged sheathing; ensure a solid, flat substrate.
Install drip edge: Attach along eaves first, then along rakes after underlayment is applied (some installers place drip edge on both).
Apply ice and water shield: Install along eaves, valleys, and other vulnerable areas per manufacturer recommendations.
Install underlayment: Roll out felt or synthetic underlayment horizontally, overlapping per guidelines. Secure with cap nails or staples as recommended.
Install starter strip: Place along eaves to seal shingle ends and prevent wind uplift.
Lay shingles: Start at the lower edge and work up. Follow manufacturer spacing and nailing patterns. Stagger courses to avoid seam alignment.
Flashing: Install step flashing at walls, counterflashing at chimneys, and cap flashing where needed. Use durable metal flashing and roofing sealant for watertight transitions.
Ridge and hip caps: Install specially shaped shingles or cut shingles to cover ridges and hips, using ridge vent product if applicable for ventilation.
Clean up and final inspection: Remove nails, debris, and protective coverings. Inspect for proper nail placement, flashing integrity, and overall appearance.
Quality control and inspections
Verify nail length and placement (nails must penetrate decking sufficiently and avoid over- or under-driving).
Check for proper flashing at all roof penetrations (vents, skylights, chimneys).
Confirm that ventilation and attic airflow meet building code and manufacturer recommendations.
Address any open seams, exposed underlayment, or loose shingles before project completion.
Common issues and how to avoid them
Leaks at flashing: Ensure proper installation and use high-quality metal flashing and sealant. Replace old step flashing when replacing shingles.
Wind damage: Use starter strips and correct nailing patterns. Consider higher wind-rated shingles for exposed areas.
Poor ventilation: Install ridge and soffit vents sized appropriately for attic square footage. Ensure soffit vents are unobstructed.